Displaying Pictures to the OLED
I want to show you the steps for turning images into formats that your 128 by 64 OLED Screen can display. Here is a tutorial for how to do that. Here is a link to a useful online tutorial.
https://learn.adafruit.com/adafruit-gfx-graphics-library/graphics-primitives
https://learn.adafruit.com/adafruit-gfx-graphics-library/graphics-primitives
Getting the OLED Manufacturer's Logo
|
The most basic thing we need to do first before anything else is get the code ready for initializing the display. The code to the right comes directly from the manufacturer and is the minimum needed to get the display ready to start working.
If all you do is get the board started and nothing else, the logo stays up forever. Start by just getting this code typed up We will add to it later to get it to display what is called bitmap images. Upload it to board and make sure it works. It looks similar to this picture, but your colors may be different based on the screen colors. |
|
Your First Bitmap Image
|
It seems appropriate that the first image we display is the Arduino Logo. Here is what that looks like. You should already know that though :P
|
|
The picture here is actually already a 128 by 64 pixel bitmap image. It was generated using a converter using their actual logo. Here is the site I used: https://javl.github.io/image2cpp/
We need to turn it into code that the Arduino knows how to read though
We need to turn it into code that the Arduino knows how to read though
|
Go ahead and practice converting images to bitmap codes using the website. Start by generating a bitmap using the picture here of the Arduino logo. I put a file download here. Test it out. Here is what it looked like when I did it. There is one pixel code per pixel.
https://javl.github.io/image2cpp/ Image File Download
Once you get the bitmap code, I'd recommend saving it in a google doc or something so you have paste it into Arduino IDE later.
It is useful to rename the bitmap from the default "epd_bitmap_bitmap". I deleted that part and renamed mine "logo". You can name it whatever you want to. |
| ||
The Resulting ImageCopy and paste your bitmap file declaration right before your void setup; then alter your setup function to draw it. Your screen will look similar to this after uploading if it is working.
|
|
Example Code.
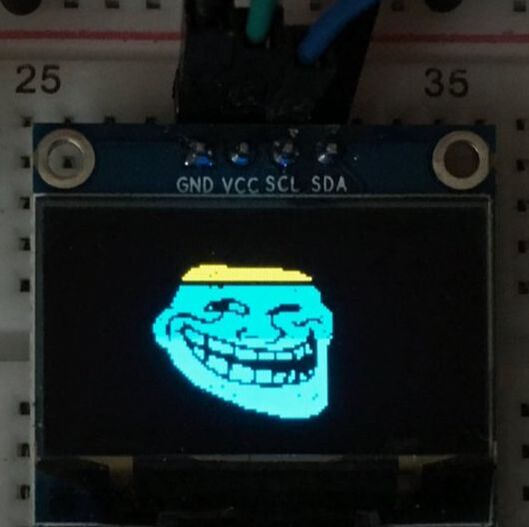
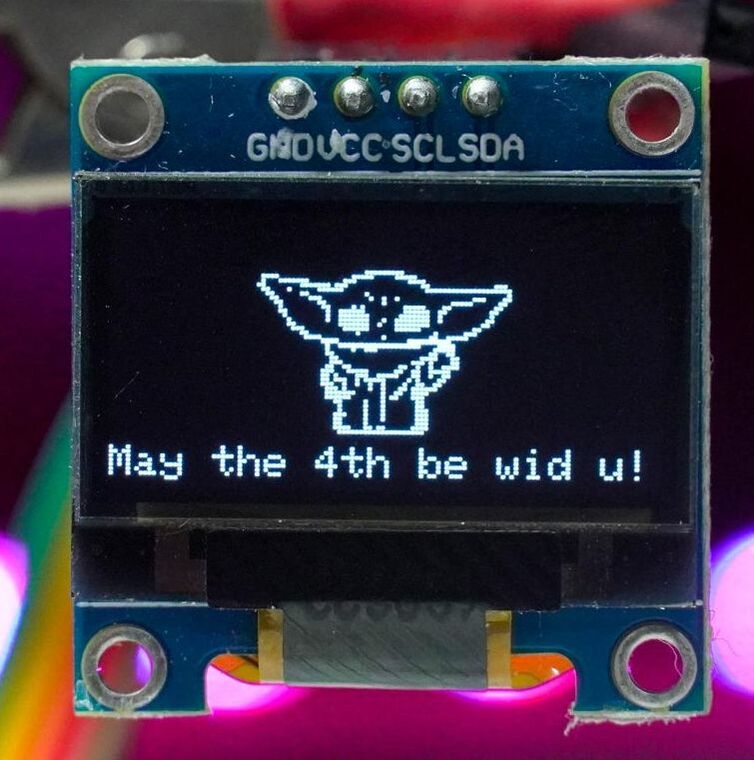
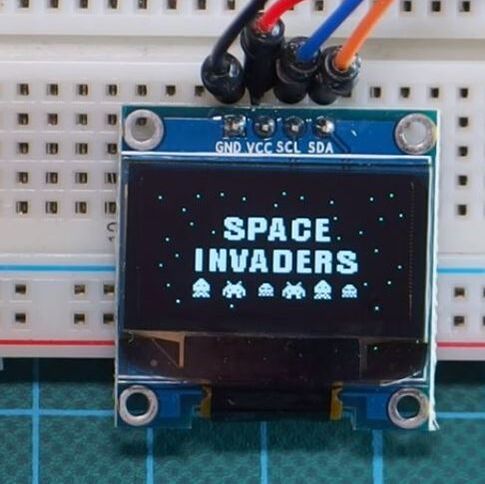
Try Other Pictures. Make Your Own!
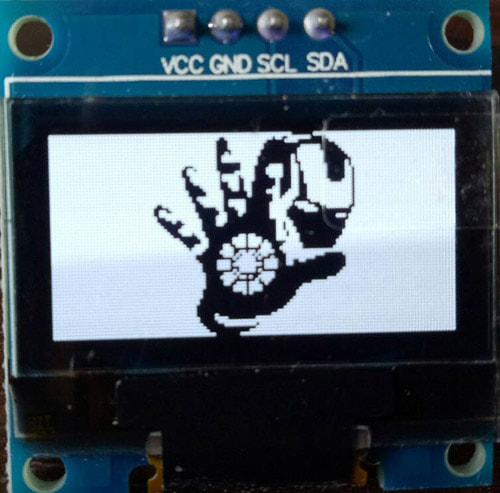
Take the time to try out the above steps on a couple of two by one ratio pictures (because 128 by 64)
Here are some examples!
Here are some examples!
|
|
|
|
Alternate Method for Windows Computers
Links to picture sources:
Header art: https://cdn-learn.adafruit.com/guides/cropped_images/000/000/633/medium640/DSC00469_copy.jpg?1534972410
Arduino Inf logo: http://3.bp.blogspot.com/--Kg2qIZJB_k/VpzryPoDygI/AAAAAAAACEI/obWgHE4Qa7k/s1600/arduino-infinity.jpg
troll face https://pbs.twimg.com/media/Eq2N4XsWMAQBinw.jpg:large
iron man https://iotdesignpro.com/sites/default/files/inline-images/OLED_0.jpg
space invaders https://www.electronics-lab.com/wp-content/uploads/2018/03/home.jpg
Yoda https://content.instructables.com/ORIG/FI5/24DE/KISUSQVP/FI524DEKISUSQVP.jpg?auto=webp&fit=bounds&frame=1&height=1024&width=1024&auto=webp&frame=1&height=300