Materials for this activity:
|
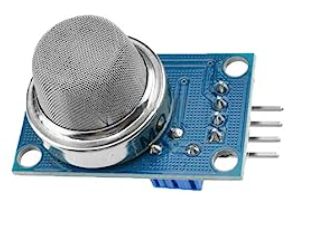
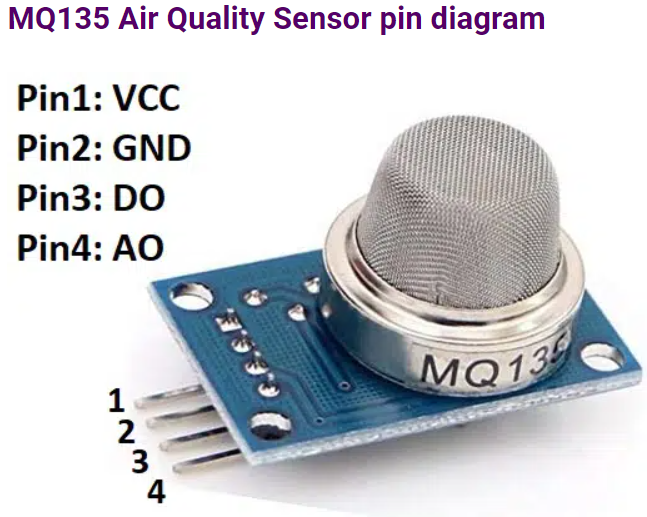
Gas Sensor MQ135
|
Jumper Wires

|
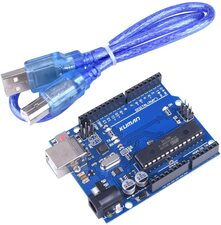
Arduino and USB Connector
|
|
Breathing Barrier

|
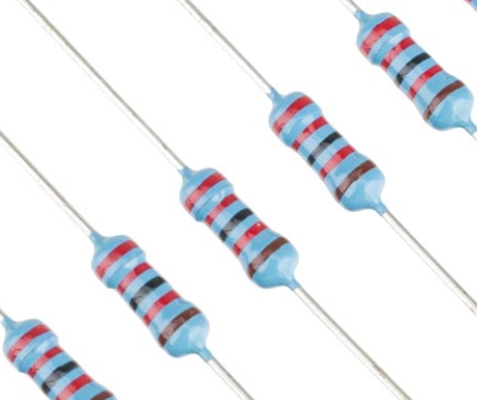
22 kΩ Resistor

|
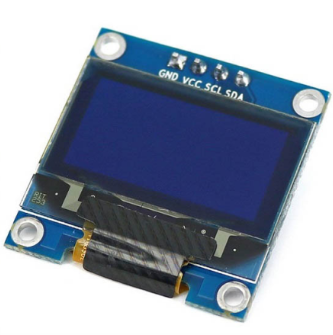
OLED
|
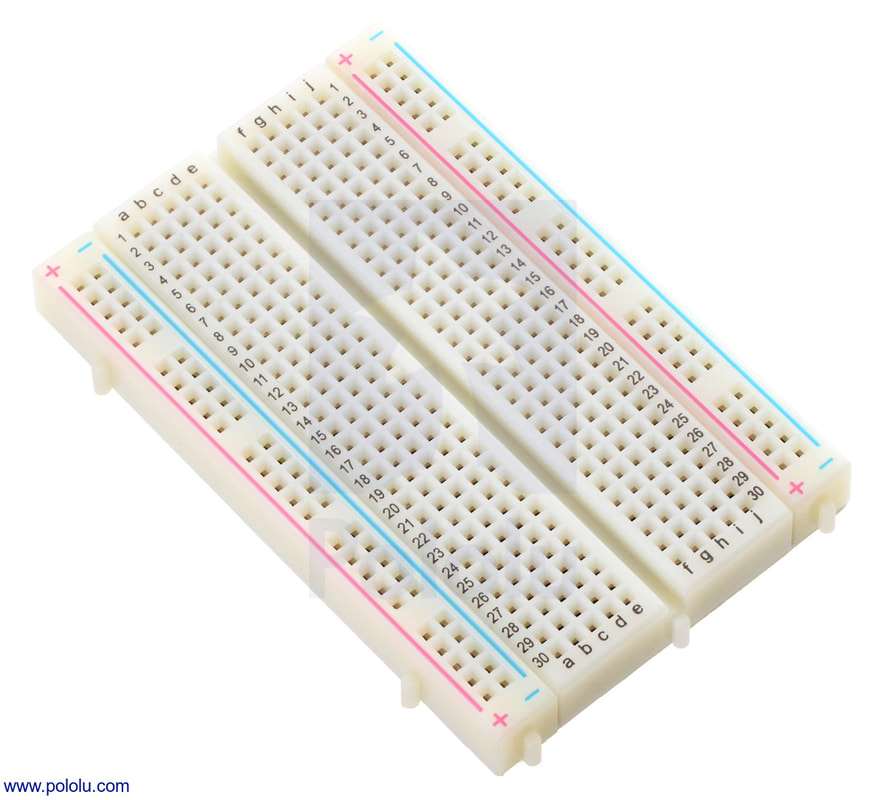
Breadboard
|
CO2 in the air
The earth’s Atmospheric CO2 level is increasing year over year. The global average atmospheric carbon dioxide in 2019 was 409.8 parts per million and it was 411.3 ppm in October 2020. Carbon dioxide is a key greenhouse gas and responsible for about three-quarters of human emissions. So CO2 level monitoring has gained importance.
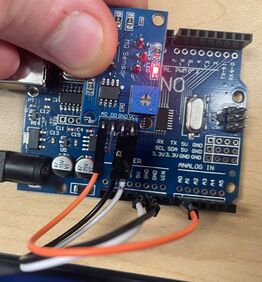
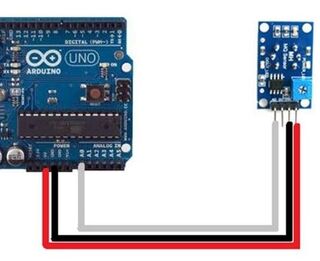
Wiring Diagram
For the first CO2 activity, we are only using the A0 signal pin. Let's wire it up.
|
|
|
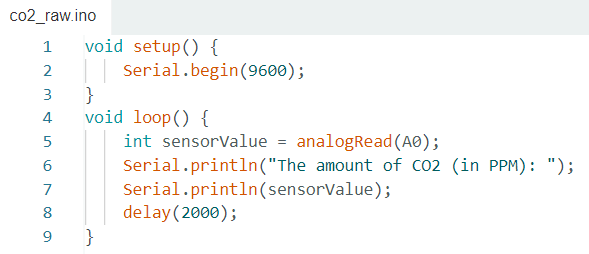
The Base Code
We are going to start simple. We are not going to calibrate it and just take its preprocessed output data and display it to the serial monitor. Type up and send out this code after you wire up your sensor to the board. After you upload it, open up the serial monitor.
|
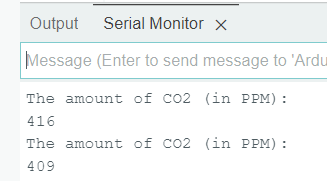
It should have outputs like this.
|
Did it work? If it did, save your code.
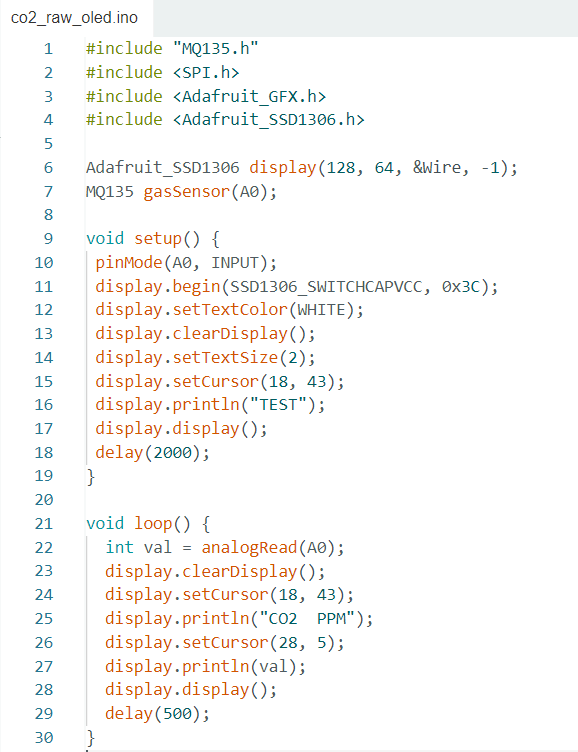
Outputting Readings to OLED
Wire up the OLED with the gas sensor. Below is how to wire that if you forgot. Change the code to below and see if you can get the readings from the sensor to get sent to the OLED.
|
The Wiring.
1) GND to GND 2) VCC to 5 V 3) SCL to pin A5 4) SDA to pin A4 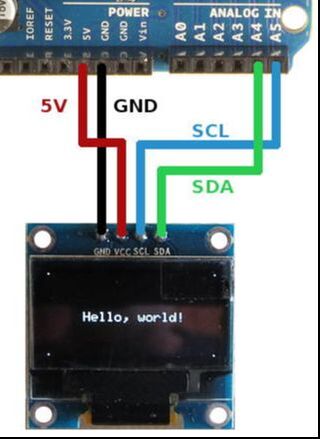
|
This lesson is inspired by
https://circuitdigest.com/microcontroller-projects/interfacing-mq135-gas-sensor-with-arduino-to-measure-co2-levels-in-ppm
and https://pslab.io/blog/measuring-co2-with-mq135/
https://www.hackster.io/sheekar/mq-135-sensor-co2-benzyne-with-arduino-sheekar-banerjee-ab6ccd
https://circuitdigest.com/microcontroller-projects/interfacing-mq135-gas-sensor-with-arduino-to-measure-co2-levels-in-ppm
and https://pslab.io/blog/measuring-co2-with-mq135/
https://www.hackster.io/sheekar/mq-135-sensor-co2-benzyne-with-arduino-sheekar-banerjee-ab6ccd