Materials for this activity:
|
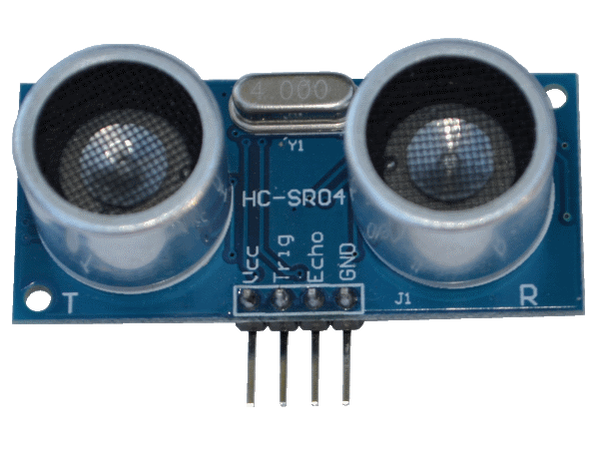
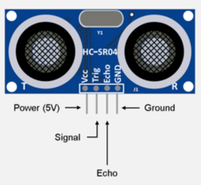
Ultrasound Sensor
|
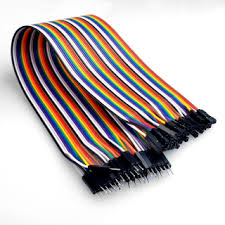
Jumper Wires
|
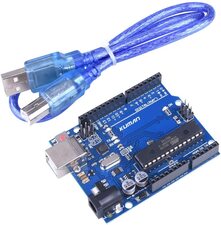
Arduino and USB Connector
|
These are for part 2
|
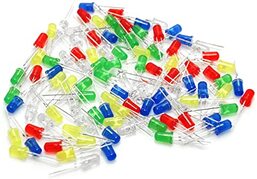
LEDs
|
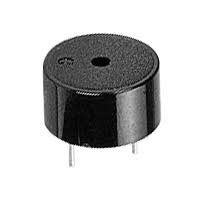
Buzzer
|
Breadboard

|
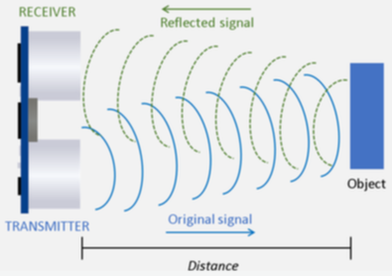
What is Ultrasound?

|
|
Several animals send out high-frequency sound that reflects off of other objects. A sound that is a higher pitch than humans can hear is called ultrasound. They then sense their own reflected sound when it comes back. The loudness and time it takes to come back depends on the distance to the object.
Ultrasound sensor wiring and coding basics
|
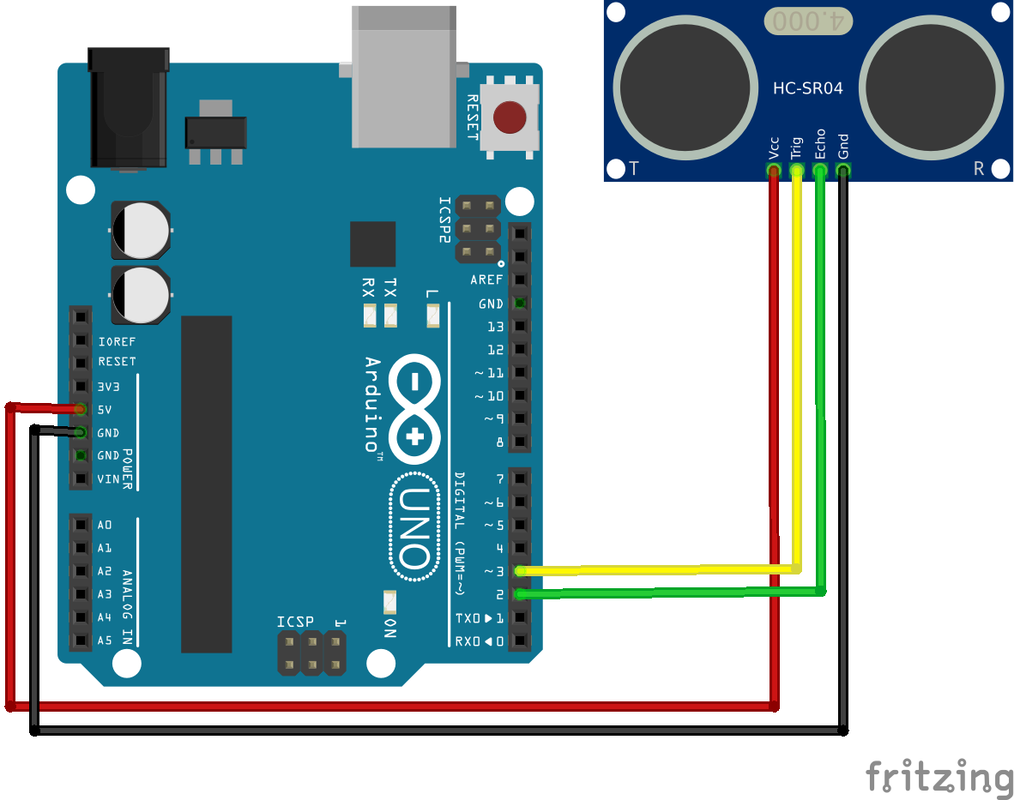
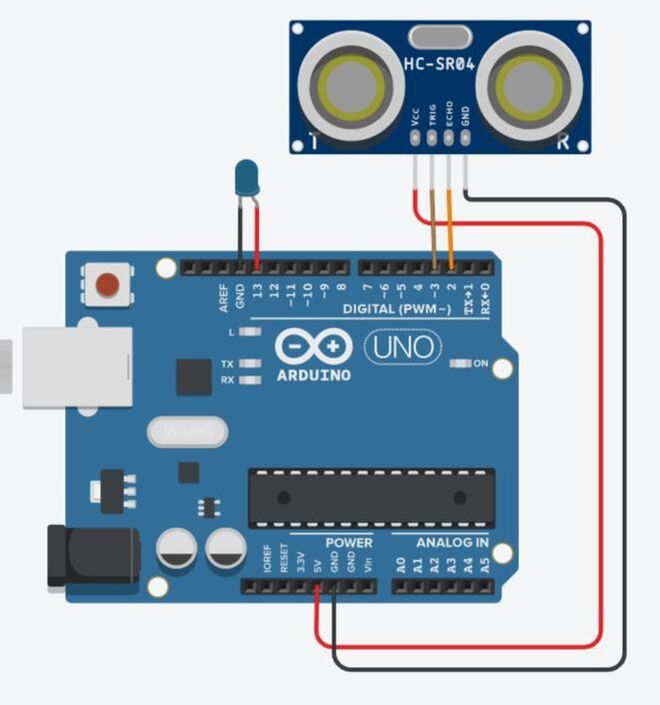
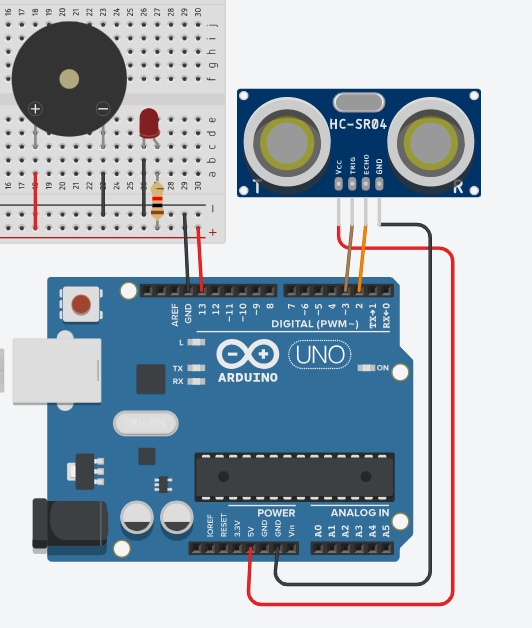
Wire up your ultrasonic sensor like this picture.
VCC is connected to the 5V Arduino pin Trig is connected to Arduino pin 3 Echo is connected to Arduino pin 2 Gnd is connected to an Arduino GND pin |
|
|
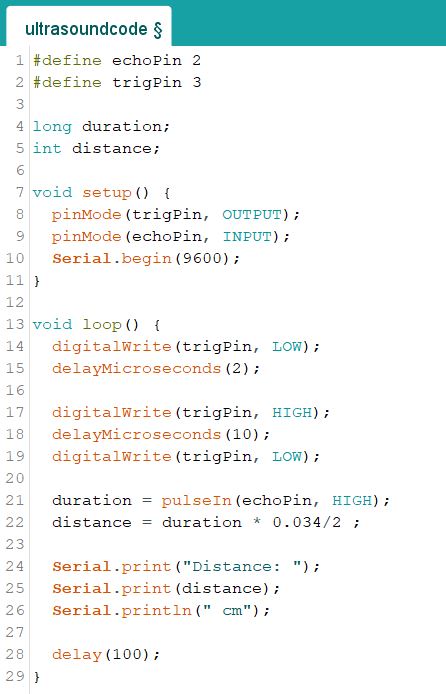
Now that you have it wired, you are ready to type in the example code.
|
|
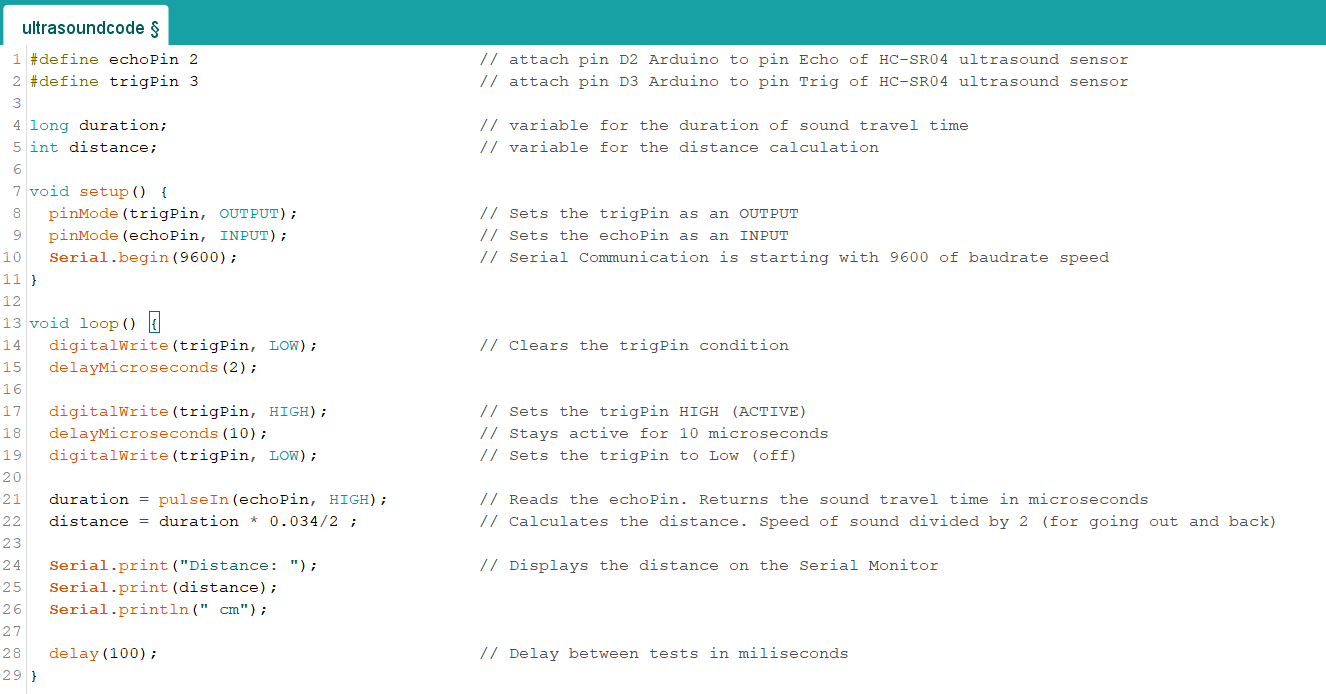
Here is the code with descriptions of what each line does.
Verify and upload the code to the board
Test it: Serial Monitor
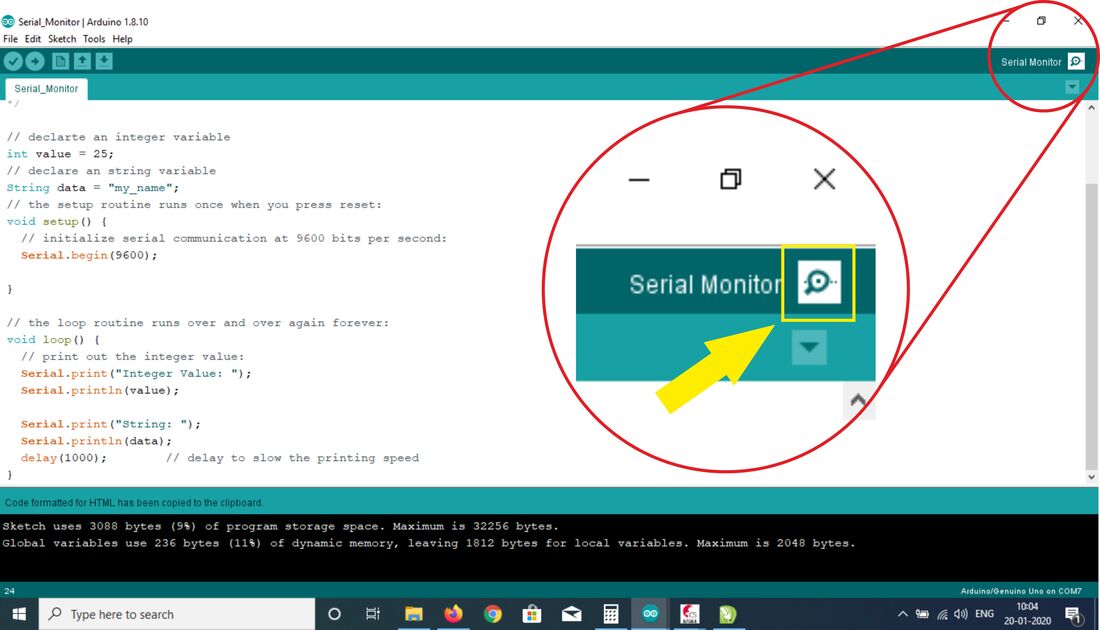
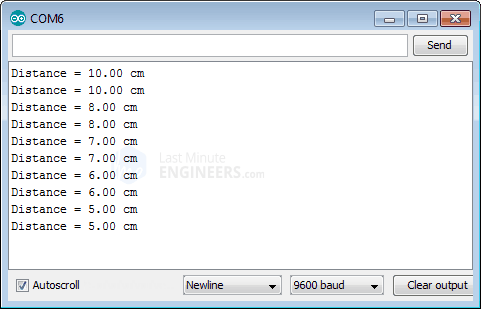
After you upload it to board, see if it works. The text for how far away objects are from the ultrasound sensor is being sent to the serial monitor. To see that, you have to open the monitor by clicking its button. Here is where that button is and what the monitor looks like.
|
|
Making the Arduino Light Up if you get to close
|
We will now add a little bit to our code so that when you get closer than three feet to something, a light will turn on. Three feet is 91 centimeters, we need that number later. You can pick a different difference if you want. Every foot is about 30.5 cm.
To do this, we have to add what is called a condition. This can be done with an "if/else" statement. |
Here is an example of an if/else we can add.
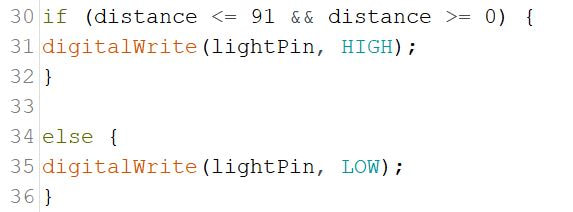
Put this right after the last code's Serial Prints. This makes the light turn on if distances are between 0 and 91 cm, otherwise the light is off.
|
|
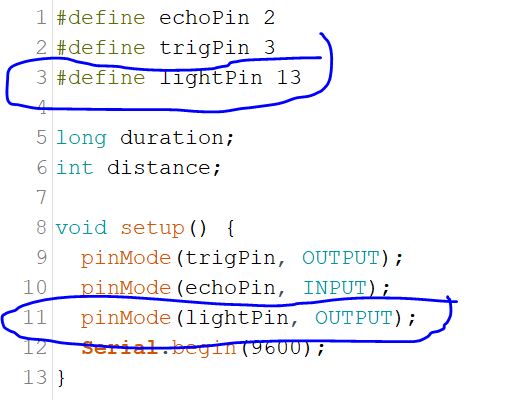
We also need to define the LED's location and to define that pin would as an output. Add that to the ultrasound code following this example.
|
|
Example Wiring |
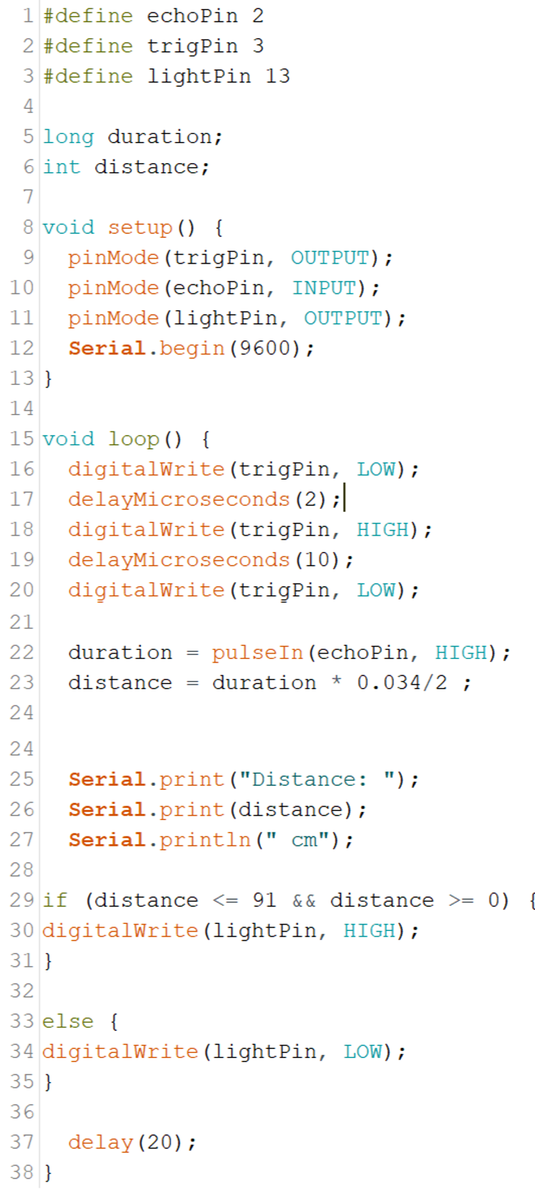
Full Example Code |
|
The only thing we are adding is the LED to GND and pin 13. Depending on the color, you will need to add a resistor. The 220 or 330 Ohm resistor works well for Red or Yellow. Ask your teacher about how to do this if you need to.
|
|
Verify and Upload Code to the Board, Does it Work?
Is the code working, what is happening? Ask your teacher for help if you need it.
Trying the Buzzer
|
If you got your light to shine when you got too close to the sensor, then you can do the same thing with the buzzer instead.
Replace the light with a buzzer and see if it now buzzes when you get too close! After that works, use your breadboard by connecting a wire to GND to - and pin 13 to the + rail. Then you can plug as many lights and buzzers in parallel to the breadboard rail. See if you can control multiple things at once with the ultrasound sensor. Remember to use resistors for the lights. |
|
|
This lesson was inspired by a Dr.Duino lesson: www.drduino.com
hackaday.com/2020/04/09/ultrasonic-sensor-helps-you-enforce-social-distancing/ |
|