Disclaimer: The Pulse Sensor you make for this activity should not be used for diagnostic purposes. If at any point you are concerned about your heart rhythm, you should consult your physician.
Materials for this activity:
|
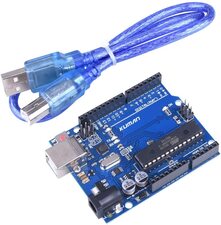
The Arduino and USB cord
|
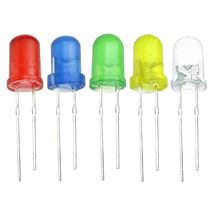
Several Different LEDs
|
All the Resistor Strips

|
|
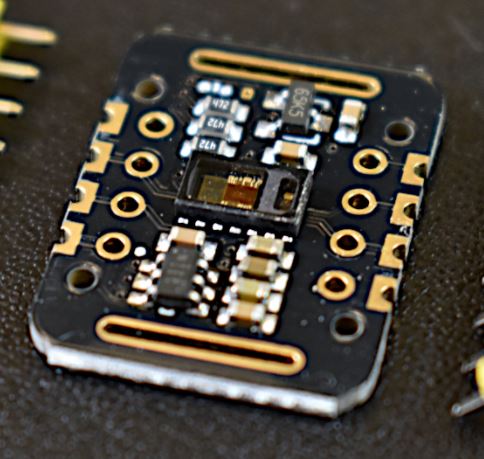
The Pulse Sensor
|
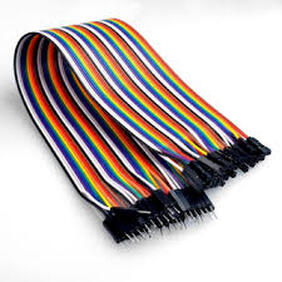
Wires
|
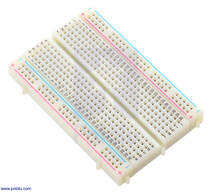
Breadboard
|
Buzzer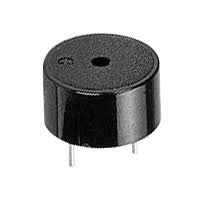
|
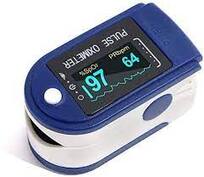
What is the Pulse Oximeter Sensor?
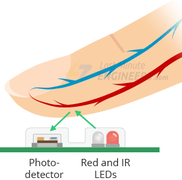
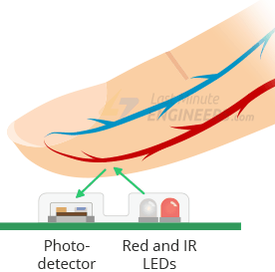
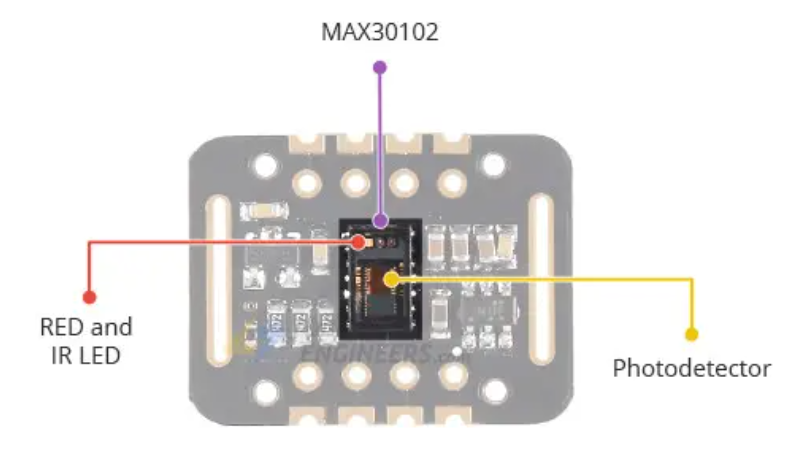
The pulse sensor is just a Red light, an IR light, and a photodetector. The sensor is measuring how much of the light is penetrating your finger.
|

|
|
Measuring the Heart BeatHere is a video that shows a similar sensor to what you will build. This way, you know what to expect. We will use a sensor to get a plot of our heartbeat. Specifically, the sensor measures the IR light going through/off your skin. As blood pumps, this value changes.
|
|
Measuring Pulse
Pulse is one of the simplest and main resources healthcare professionals can use to know if something is wrong with you. This activity will help you learn basic Arduino wiring, how to read data from a sensor, and how to get information to display on your computer monitor.
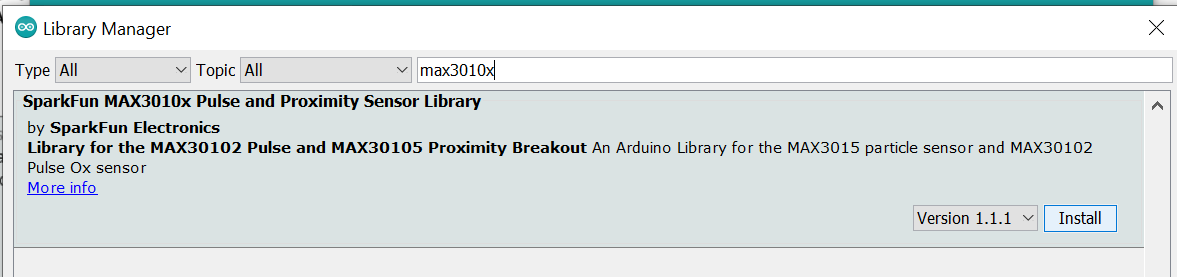
Before we write the code, we need to get the library that runs the SpO2 sensor.
In Arduino IDE:
Before we write the code, we need to get the library that runs the SpO2 sensor.
In Arduino IDE:
- Go to Sketch -> Include Library -> Manage Libraries
- Type in “max3010x” into the search box
- Install/Download the “Sparkfun MAX3010x Pulse and Proximity Sensor Library”
Now we are ready to wire and code the sensor.
What is the Pulse Sensor?
How to Wire the MAX Pulse Sensor
The pulse sensor is just a Red light, an IR light, and a photodetector.
Flip over your sensor and find the 4 prong labels (Vin, SDA, SCL, GND). You will also need 4 wires to connect the sensor to the Arduino. Use the picture here to help.
Flip over your sensor and find the 4 prong labels (Vin, SDA, SCL, GND). You will also need 4 wires to connect the sensor to the Arduino. Use the picture here to help.
|
Vin (volts in) to the 5V Arduino pin
GND (ground) to the GND Arduino pin SDA to the Arduino A4 pin SCL to the Arduino A5 pin |
|
|
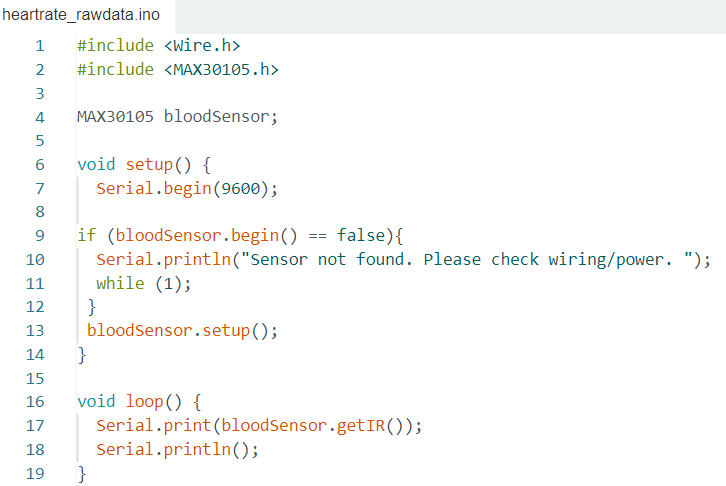
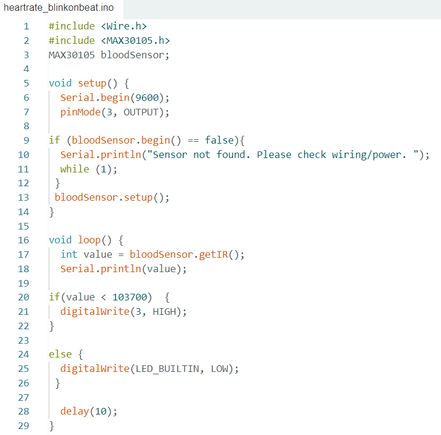
Coding for the Pulse Sensor
Here is Mr. Dorsey explaining the sensor and code
Verify and Upload the Code to the Arduino
After you upload the code to the board successfully, open up your serial monitor to see if it is giving your readings.
Seeing your pulse data. Serial Plotter
|
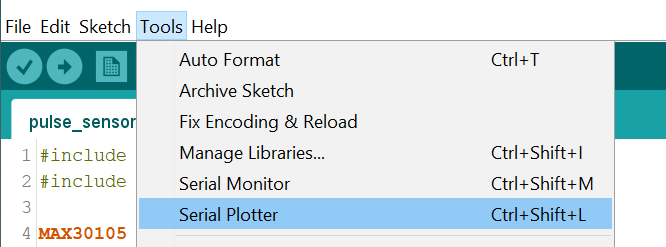
Now, let's learn how to see a graph of your pulse data! Go to Tools and select Serial Plotter.
You will have to wait about 10 seconds for the graph to zoom in on the data. |
|
|
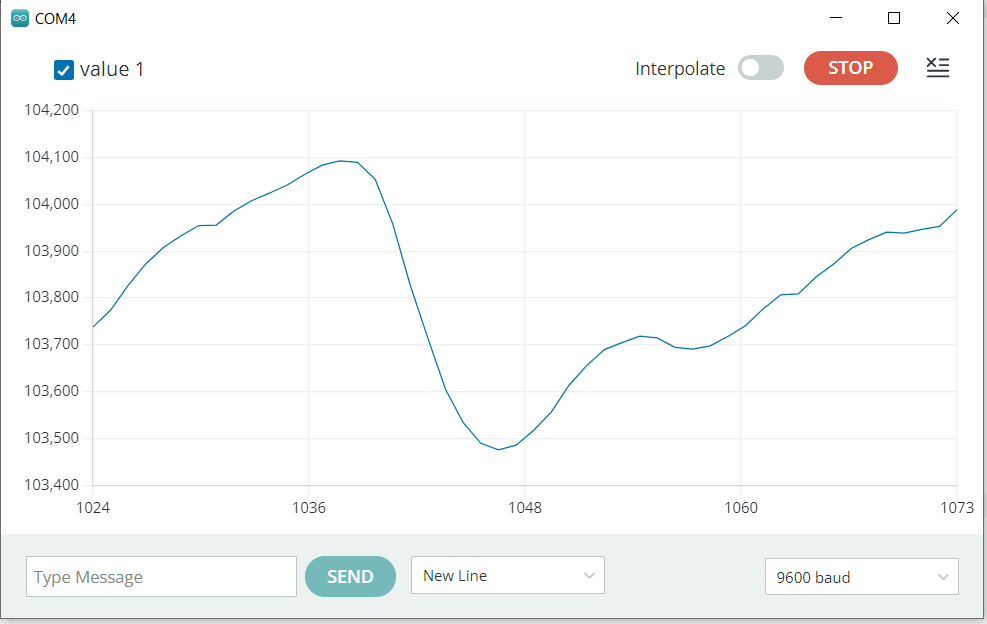
Here is a screenshot of Mr. Dorsey's data from the serial plotter.
Here are some tips to get a good reading. 1) Use your thumb, it is bigger and has more blood flow 2) Do not push down too hard on the sensor (that would restrict blood flow) |
|
Hopefully, you got the sensor to give a reading! If you didn't, ask for help.
For this graph, the reading is how much IR light it is getting reflected back into the sensor. The value increases as blood loses oxygen and decreases when it has more oxygen. Darker blood is less oxygenated blood.
For this graph, the reading is how much IR light it is getting reflected back into the sensor. The value increases as blood loses oxygen and decreases when it has more oxygen. Darker blood is less oxygenated blood.
Light blinks when your heart beats
|
In this activity, we will turn on a light every time your heart beats. In order to do this, you need to set a "threshold value". That means a limit. The light is kept on whenever your sensor gets a reading below that point and the graph goes below that point. If it is outside that value, the light will be off. For my above graph, you can see that the graph goes between 104,100 and 103,500. It quickly drops down to the 103,500 value when my heart beats. Your value will be different, so you need to look at your graph to pick this number.

|
|
Calculating BPM
We can use this sensor's data to calculate your heart's beats per minute (BPM). That code has a lot of math and uses arrays(matrices), so we are not going to have you type this one out yourself. Here is a link to that Arduino file. Open this file on your computer and compile it. Open your serial monitor and see if it works.
If your sensor is powered correctly, you should see a little red light on it. If you do, put your thumb over the sensor and keep it there. After several seconds, it should level out your BMP reading.
|

| ||
This lesson is inspired by
https://how2electronics.com/blood-oxygen-heart-rate-monitor-max30100-arduino/
https://lastminuteengineers.com/max30102-pulse-oximeter-heart-rate-sensor-arduino-tutorial/
https://how2electronics.com/blood-oxygen-heart-rate-monitor-max30100-arduino/
https://lastminuteengineers.com/max30102-pulse-oximeter-heart-rate-sensor-arduino-tutorial/